Key Takeaways
- Before winter, clean snow equipment and inspect belts, augers, paddles, tires and skid shoes for wear or adjustment needs.
- Follow manufacturer instructions for oil, stored fuel, batteries and corrosion protection rather than applying one maintenance routine to every machine.
- Stock suitable supplies and spare parts and test equipment before significant snowfall, leaving time for repairs.
When Edmonton winters hit, your snow removal equipment becomes your best friend. But if it’s not properly winterized, even the most reliable machines can fail when you need them most. Taking time to prepare your equipment before the first big storm ensures smoother operation, fewer breakdowns, and longer-lasting performance.
Why Winterizing Matters
Snowblowers, shovels, and ice management tools face extreme conditions during our long winters. Cold temperatures, moisture, and heavy use put stress on motors, blades, and moving parts. Winterizing keeps equipment ready for action and helps prevent costly repairs.
Steps to Winterize Your Snow Removal Equipment
1. Inspect and Clean Your Equipment
Start by giving your equipment a thorough cleaning. Remove dirt, salt, and built-up debris from moving parts. For snowblowers, check belts, augers, and paddles for signs of wear. Replace anything that looks cracked or frayed.
2. Change or Top Up Fluids
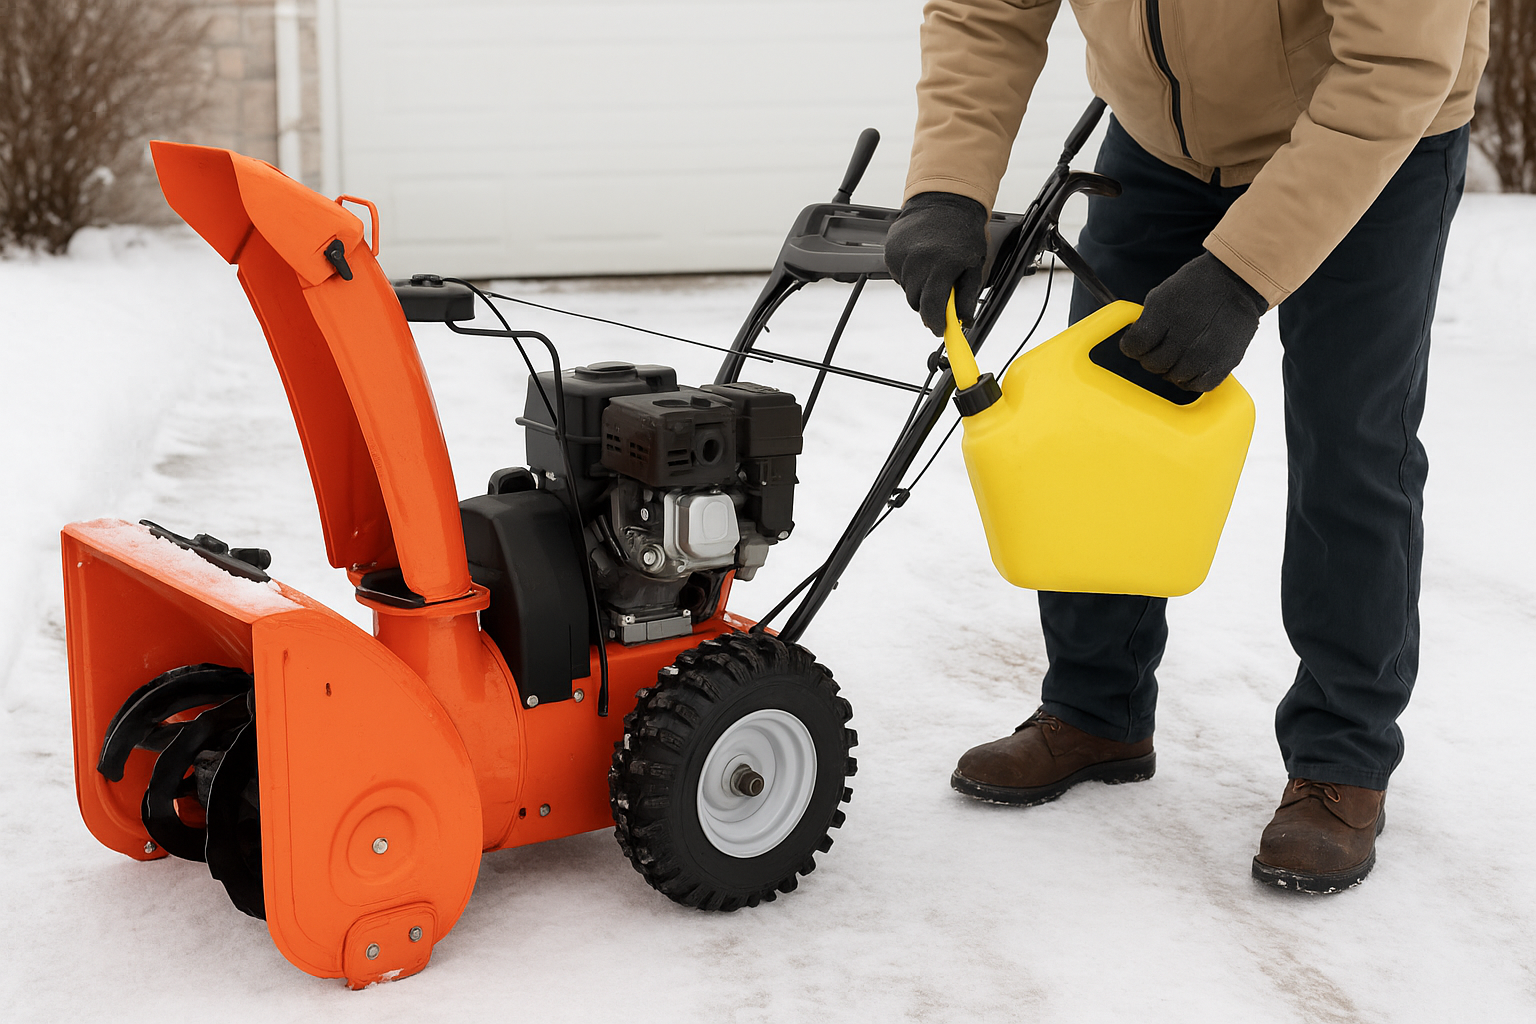
Engines need fresh oil and proper fuel stabilization before cold-weather use. If you are storing gasoline-powered equipment with fuel in the tank, use a fuel stabilizer according to the product and equipment manufacturer’s directions to help slow fuel degradation and reduce deposits. Check oil levels and replace if dirty.
3. Sharpen and Protect Blades
Shovel edges, snowblower augers, and ice chippers perform best when sharp. Dull blades require more effort and can damage surfaces. After sharpening, apply a light coating of rust-preventative oil to metal parts.
4. Check Tires and Skid Shoes
For snowblowers, inspect tires for proper inflation or tread wear. Skid shoes should be adjusted to protect your driveway from scratches while keeping the auger clear of gravel.
5. Store Supplies in Advance
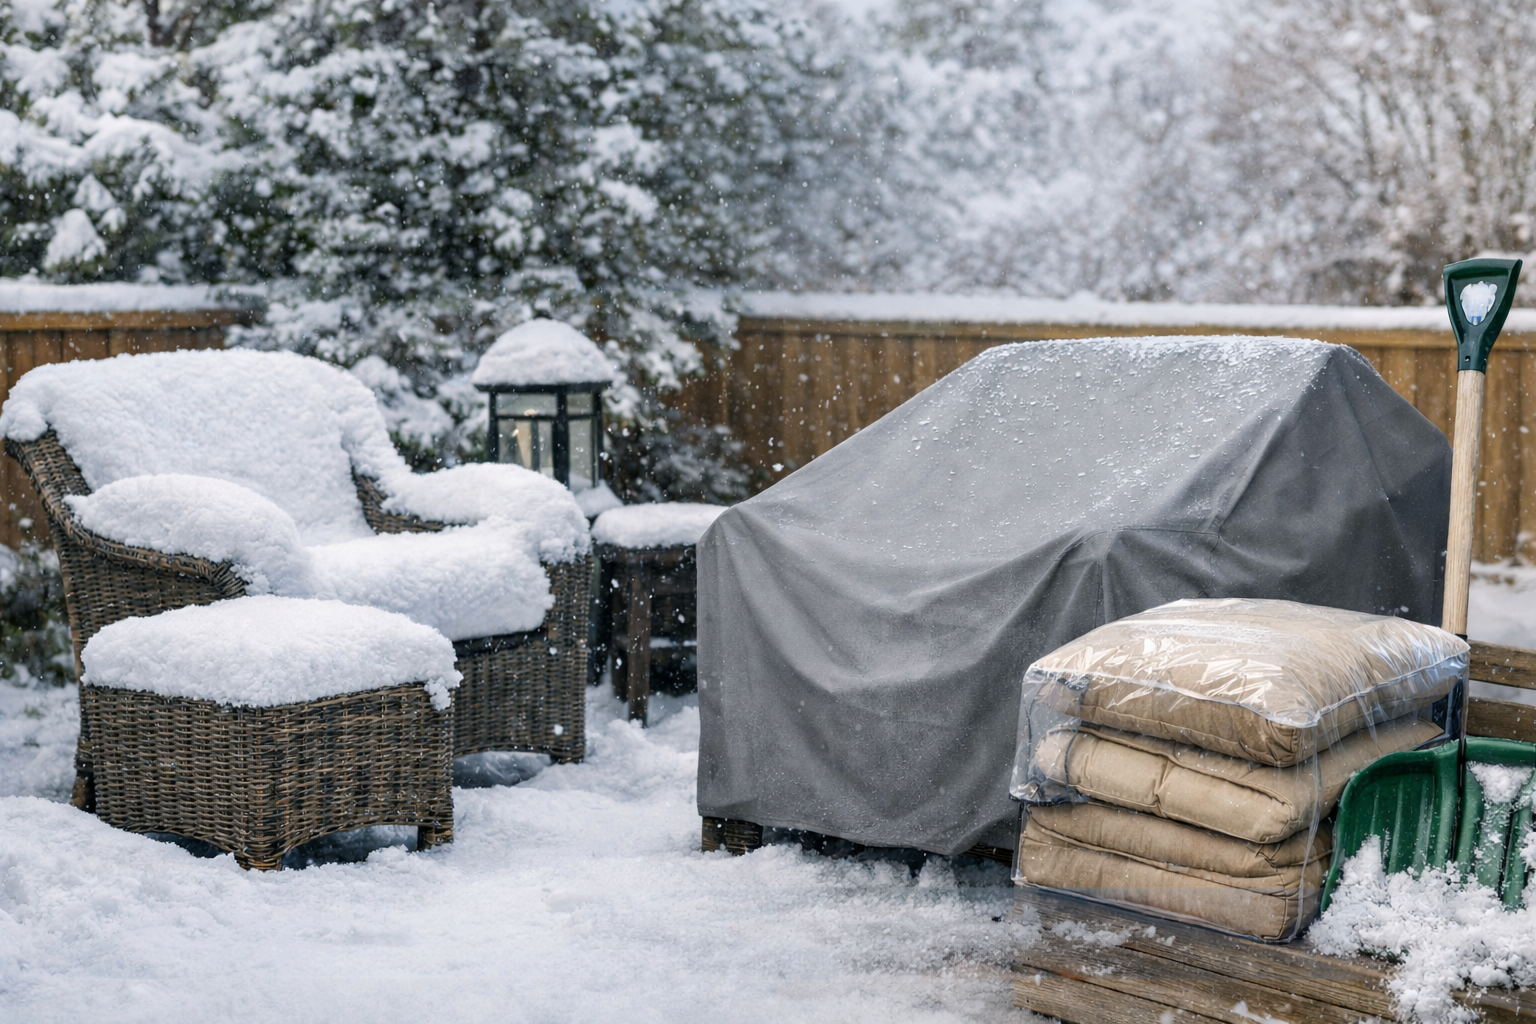
Don’t wait for the first storm — stock up on ice melt, sand, or calcium chloride. Store them in sealed containers to keep moisture out.
6. Keep Spare Parts Handy
Nothing slows you down more than a broken belt or missing shear pin in the middle of a storm. Keeping spares in your garage ensures quick fixes when needed.
When to Start Winterizing
Prepare and inspect snow-removal equipment before regular winter use begins. In Edmonton, early fall is a practical time to complete maintenance, test batteries or engines, and replace worn parts before the first significant snowfall.
If you’re wondering when to prepare your property for winter, check out our post: When Should I Start Preparing for Snow Removal in Edmonton?
Final Thoughts
Winterizing your snow removal equipment is just as important as clearing the snow itself. A few simple steps — inspecting, sharpening, fueling, and stocking supplies — ensure you’re ready to take on Edmonton’s toughest winters.
For a hassle-free winter, remember Neighbourhood Heroes offers Snow Removal packages with unlimited triggered visits during our November 15 to April 15 residential season. That way, you can leave the heavy lifting to us and enjoy peace of mind all season long.
→ Snow Shovelling Services
→ Sidewalk Snow Removal Services
→ Book Our Snow Removal Services


No Comments Yet
Let us know what you think